Featured 1

Curabitur et lectus vitae purus tincidunt laoreet sit amet ac ipsum. Proin tincidunt mattis nisi a scelerisque. Aliquam placerat dapibus eros non ullamcorper. Integer interdum ullamcorper venenatis. Pellentesque habitant morbi tristique senectus et netus et malesuada fames ac turpis egestas.

Featured 2

Curabitur et lectus vitae purus tincidunt laoreet sit amet ac ipsum. Proin tincidunt mattis nisi a scelerisque. Aliquam placerat dapibus eros non ullamcorper. Integer interdum ullamcorper venenatis. Pellentesque habitant morbi tristique senectus et netus et malesuada fames ac turpis egestas.

Featured 3

Curabitur et lectus vitae purus tincidunt laoreet sit amet ac ipsum. Proin tincidunt mattis nisi a scelerisque. Aliquam placerat dapibus eros non ullamcorper. Integer interdum ullamcorper venenatis. Pellentesque habitant morbi tristique senectus et netus et malesuada fames ac turpis egestas.

Featured 4

Curabitur et lectus vitae purus tincidunt laoreet sit amet ac ipsum. Proin tincidunt mattis nisi a scelerisque. Aliquam placerat dapibus eros non ullamcorper. Integer interdum ullamcorper venenatis. Pellentesque habitant morbi tristique senectus et netus et malesuada fames ac turpis egestas.

Featured 5

Curabitur et lectus vitae purus tincidunt laoreet sit amet ac ipsum. Proin tincidunt mattis nisi a scelerisque. Aliquam placerat dapibus eros non ullamcorper. Integer interdum ullamcorper venenatis. Pellentesque habitant morbi tristique senectus et netus et malesuada fames ac turpis egestas.

Translate

Showing posts with label recycling. Show all posts

Friday, February 3, 2012

Bottle Chimes: a whimsical project you can make with recycled wine bottles!

Repurposed wine and beer bottles can be transformed into personalized wind chimes... They make great gifts, and add a wonderful bohemian touch to any porch decor. Try with black and white photos, seed catalogs, or any other special image for a fun family project!

No time? Contact Mary or Eddie and we will whip one together for that special person on your gift list:)

Materials:
A clean wine bottle, rinsed and will all labels removed
A cork
Two eye hooks - 1/4 inch each
Jewelers wire
Glass and/or stone beads
A flat bead or pendant as a wind catcher
Images printed on plain white paper
Modge Podge decoupage from a craft store
A bottle cutting kit (about 20$) from a craft store
Small wire cutters

Instructions:
-Using the bottle cutter, follow the provided instructions to remove the bottom from a clean wine bottle.
-Cut your special images and decoupage them onto your bottle. Be sure to use a thick but even coat of decoupage both under and over your images. Images can be layered and overlap each other.
-When the bottle is dry, screw an eye hook into both the top and bottom of your cork, and attach a long (18 inch) piece of wire to each by twisting it tightly,
-Thread one length of the wire through the hole in the top of the bottle and secure the cork back in place. A dab of clear epoxy is useful but not mandatory to secure the cork in the bottle neck.
-String beads along each wire. As you thread them on the wire inside the bottle, be sure to push them up to the top, and make your flat pendant the last bead on the line so that it hangs about 2 to 4 inches below the bottom of the bottle. Form a loop of beads with the wire above the cork to form a hanger for your bottle. Secure both the top and bottom wires by twisting them tightly; to the eye hook for the top loop, and around the wire itself just above the pendant on the bottom.
-A clear coat of spray acrylic is optional for protection, but not necessary.

Hang your personalized bottle in a protected area and enjoy the gentle chime sounds!

Thursday, January 19, 2012

Plastic Bottle Greenhouses

We are utterly in LOVE with these sustainable greenhouses created from recycled plastic bottles. This is a project being bumped up to the top of the 'to-do' list here at the homestead... Pictured below is the greenhouse from Blue Rock Station in Ohio (click to link)

For the video link, click here...


More inspiration can be found at:


Inspiration Green (can't copy images but worth hitting the link!)


Ana White, a homemaking site with step by step instructions for a greenhouse, link here.


Looks like plastic bottles are now on the homestead wishlist, too! NAMASTE YA'LL!!!

Sunday, January 1, 2012

2012 Homestead Wish-List!

As we continue to grow our lovely bohemian homestead, we always need schtuff for the gardens. If you have any of the following and want to see it reused/composted/repurposed responsibly, then feel free to give us a ring, or just drop it off on our porch (small stuff) or driveway near the barn (leaves and large stuff). We are SO appreciative of friends who continue to support our efforts to Guard'n Our Planet!

1) Leaves and yard waste (please no twigs larger than cigar diameter or grass clippings where the grass may have gone to seed)

2) Newspapers and large, flat cardboard (broken down boxes) for sheet composting new beds (sorry, no feed sacks anymore, they often have plastic liners and also create weeds)

3) Rinsed yogurt containers (or butter type tubs) at least 8 oz.

4) Clean 5 gallon buckets (from paint or sheetrock)

5) Kitchen scraps in sealed bins (vegetable scraps only). If you want to bring scraps to us we will happily provide a bin!

6) Leftover rocks/stones or concrete blocks from landscaping projects

7) Wine bottles,,,drink up! :)

8) Egg cartons

Thank you so much!! Happy New Year to all; may 2012 be full of love, health, prosperity and wonder!!

Sunday, December 4, 2011

Hand crafted gift wrap from ordinary kitchen schtuff

The challenge:
You have gifts to wrap and really don't want to run to the store one more time. The kids are home from school and are dying for a project so they can contribute to the holiday festivities. You want your gifts to have a 'wow' factor, but you don't want to spend a fortune decorating them...
Hypothesis:
Everything you need to create beautifully wrapped presents is right inside your kitchen, dear!


Gather:
-a few potatoes
-a paring knife
-a plate
-craft paint
-twine
-paper bags
From your garden:
-pretty trimmings of evergreens, dried herbs, pine cones, seed heads
You might also toss in:
-candy canes
-tree ornaments
Method:
Cut a potato in half and blot it well. Let the kids draw a simple shape on the cut surface using a sharp pencil or marker. Using the paring knife, cut along the edges of the design and remove the excess, creating a potato stamp – stick to simple shapes for the best results: starts, trees, or bells work well.
Pour some craft paint onto a plate and use your cut potato to stamp a pattern on an opened and flattened brown paper bag.
Once the paint has dried, you have a wonderful handcrafted gift wrap! Tie it up with natural brown twine for a simple, old fashioned look, and add ornaments, pine cones, candy, or bunches of fresh or dried herbs as adornment.


Sunday, November 20, 2011

Tour De Floors...

By popular demand, here they are! A quicky tour of the floors in the bath and laundry spaces at the Homestead... In true Bohemian spirit, mosaic floors are kind on the earth (all natural AND recycled goods), artsy yet elegant, VERY inexpensive and will last for generations. Above: Hall bath, leaf design made of beige and slate colored tiles with glass marble accentsAbove: A Lizard guards the Laundry, same beige and slate tiles with glass accents
Above: Muffin scales the edge of the tub in the master bath...this time beige tile is paired with black granite (secured from a broken shipment at a tile store for free!) and glass marbles...
Above, a close up of a spiral in the master room...

We are about to do a mosaic insert for our entry, and because so many have requested instructions, I will put together a video. The process truly is quite simple. Rock On Bohemiana!!!
xo


Tuesday, April 12, 2011

Poop Power: Manure generates electricity in Vermont

Check out this link to Central Vermont Public Services!

It is a wonderful example of maintaining a healthy ecosystem at the 'farm' level - using cow's waste products (ie, POOP) to power not only the dairy farms which produce the manure, but to generate electricity for the community as well!


Three cheers for Vermont's efforts to help Guard'n the Planet!

Thursday, April 7, 2011

Building the Homestead- a photo history 2006-2010

U.G.L.Y. Yup, it sure starts out plain, so keep scrolling down!
I am blown away by the changes! This is the first time to upload all of the photos and view them side by side. It just goes to show: you don't have to start with something fancy! All we started with was a dream for Forgotten Works; an interactive garden/gallery full of inspiration for gardeners and new homestead enthusiasts...

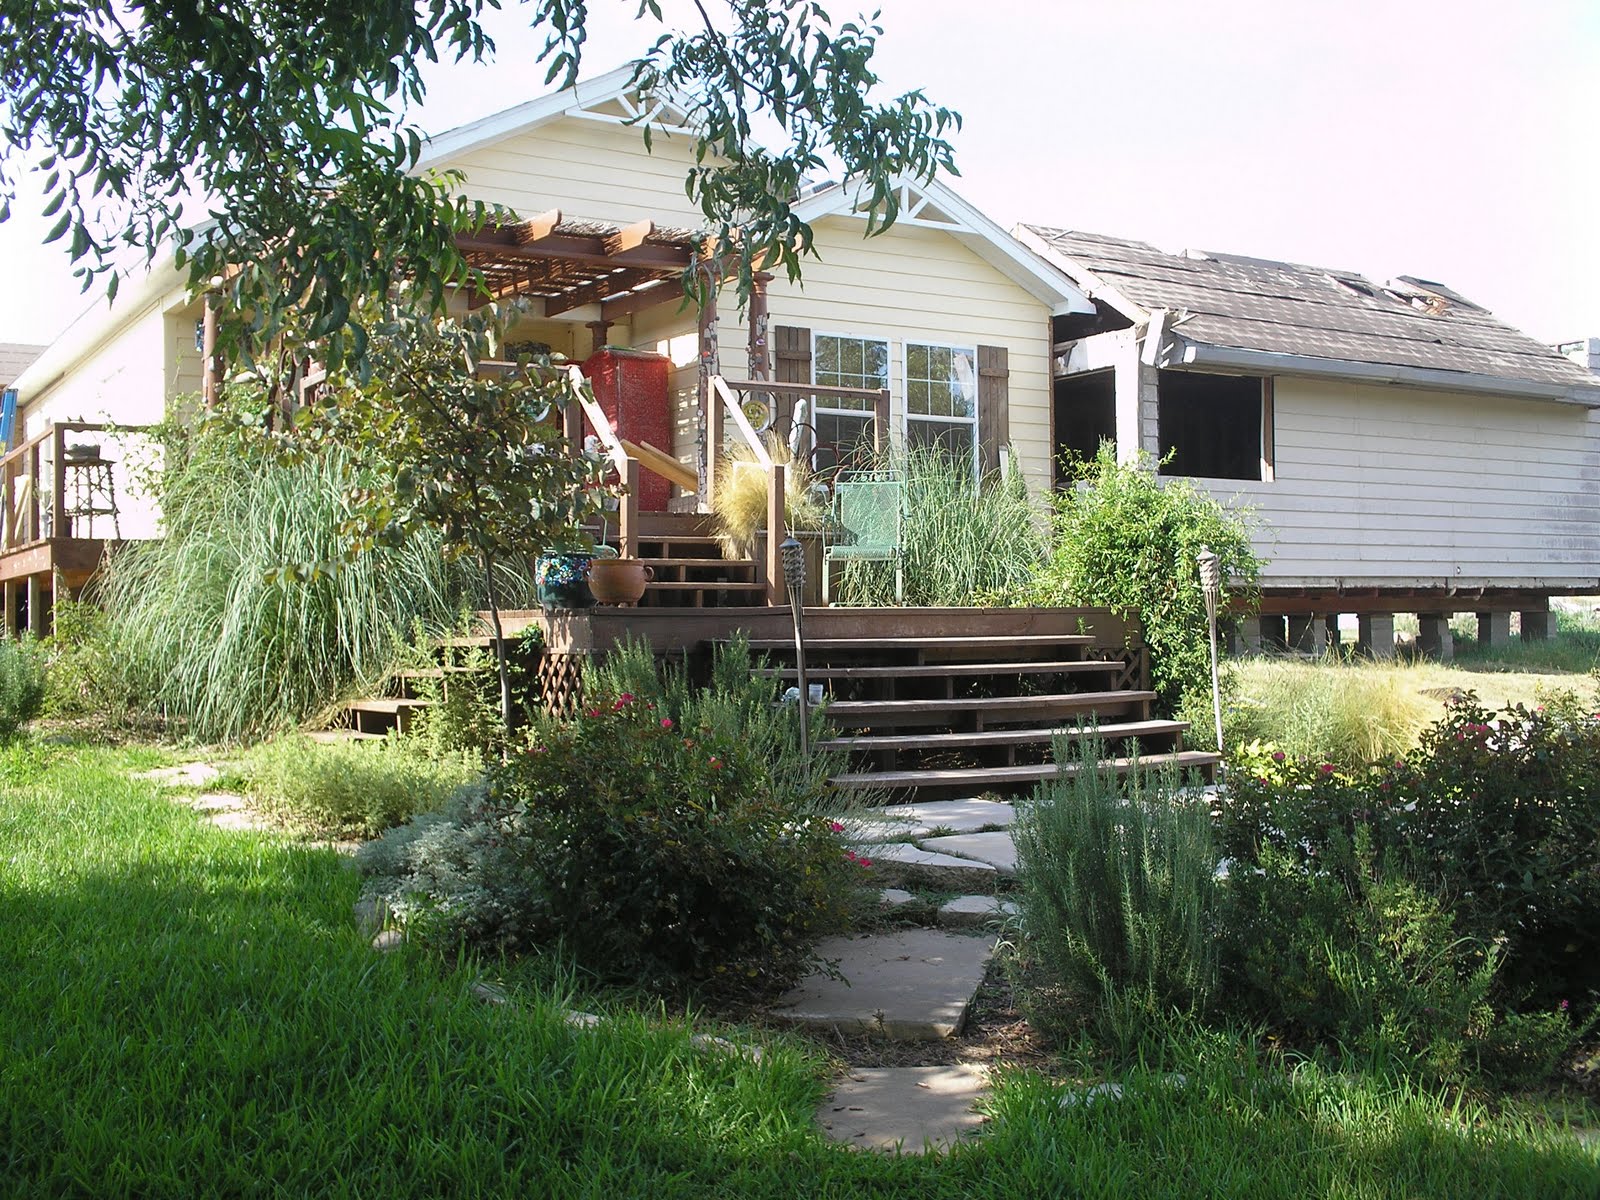
October 2006 we moved our wee green bungelow to 7 acres of pasture; up from the lush creekbed where it had flooded twice.

By Summer of 2007 it was yellow for some reason, and the sheet composting project to help add nutrients to the worn out soil had begun in earnest.

2008 saw the addition of a small lakehouse (400 sf) to the left (west side) - to serve as a studio and office -and a kiosk to the right (east) side - to become a sunroom (currently the sun room houses two smelly teenage boys!)

2009 (above)was the turning point: the sunroom had windows and was actually attached with a door, and the plantings were beginning to look more natural, more permanent... not quite as "little oasis in the pasture".


2010(left): Eddie shattered his ankle, so it was all I could do to keep everything alive. We didn't see too much expansion (the orchard gained 40 trees), but the plants really started to fill in and make the place look established! Looks like we are sticking with the red, too;)

The gardens, too, have seen progress. We started with a herb bed, and honestly didn't know where we were going next!

The first few years were all about building soil ... in fact, this process is still very important and far from finished. In a perfect world, we would have improved ALL of the soil before planting anything, but that isn't very fun, is it? :) Looking east is the herb bed and veggie beds beyond. Year one sure was bleak!


We added a shed, and while working on soil improvement we let lots of legumes take over and work their magic as cover crops amid a few perennial herbs. I had surgery in 2008, so it was a pretty scraggly year!


2009 and 2010 were turning points for the garden as well: it crossed the threshold from 'pasted onto the landscape' over to 'a PART of the landscape'... I am sure the ever improving soil helps as well, and it sure makes all of the loads of manure hauled from the local stables seem worth it!

Other improvements include adding molasses and cornmeal to the soil, as well as beneficial nematodes and fungi cultures: it's all about building a healthy soil ecosystem capable of sustaining life!!!

A few beneficial insects like ladybugs have helped out as well, and I can't underestimate the value of the chickens when it comes to consumming harmful insect pests!


Conclusion: don't move just because your 'house' doesn't feel like 'home' yet! You can start with something plain (or hell, like us, even downright ugly!) and transform it into a lush, nurturing haven with just a dash of homestead savvy.


...Can't wait to see what the NEXT four years bring;) Time to go get dirty again my friends!

Thursday, June 24, 2010

Pay Dirt

Right: Our soil when we first moved onto our land...the worst dirt in the history of dirt! Eddie actually broke a pick ax trying to dig a hole. Tilling was an impossibility. After years of use as a pasture, the land would barely sustain bermuda grass, let alone a productive garden.

The solution: Sheet composting! I found a lovely book by Pat Lanza called 'lasagne gardening'...it is an introduction to starting a garden without any tilling or heavy equipment. Over the last three years, we have converted well over a full acre, and more than 4 tons of biodegradable wastes, into lush garden soil!

We gathered boxes from local businesses, as well as newspapers.
Thick layers were overlapped to completely smother the pesky and invasive pasture grasses, and grass clippings, manure from local stables, leaves left curbside in the city, and compost were layered on top of the boxes. In 18 months, the result was fertile soil!
Related Posts Plugin for WordPress, Blogger...